Undermount Sink Installation Services for Property Owners
Visitors can learn about how local contractors handle undermount sink installation services and compare options to find suitable providers.
- - Homeowners seeking professional undermount sink installation for kitchens and bathrooms.
- - Property managers coordinating updates or repairs involving sink replacements or upgrades.
- - Contractors looking to connect with local specialists for reliable undermount sink installation services.
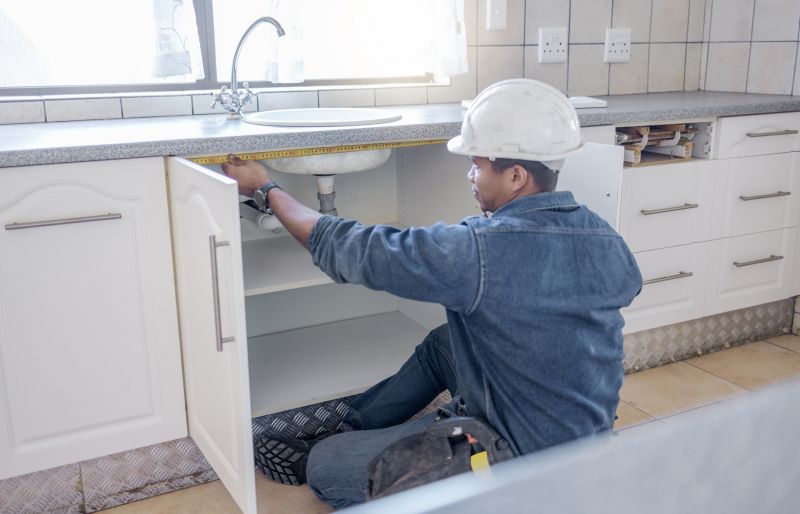
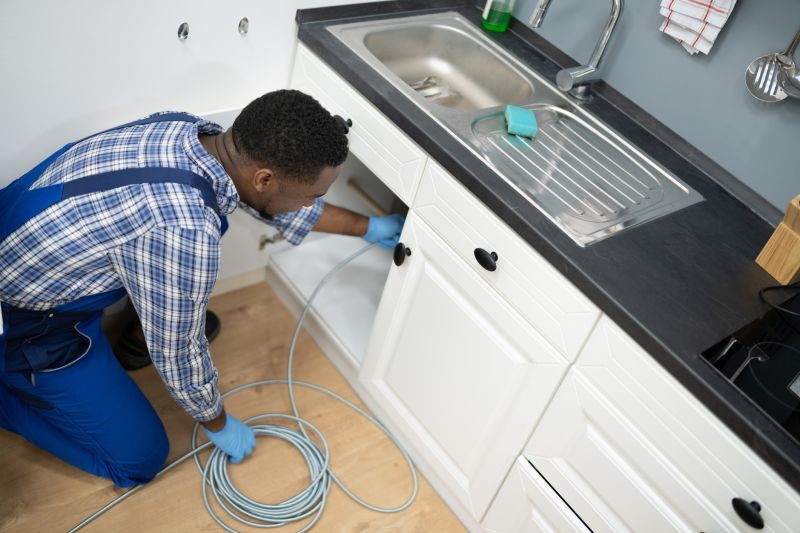

Undermount sink installation is a common upgrade for homeowners seeking a sleek, seamless look in their kitchens or bathrooms. This type of work involves securely mounting the sink beneath the countertop surface, which requires precise measurements, proper support, and careful sealing to ensure a functional and attractive finish. Property owners often turn to local contractors for this service, especially when replacing an existing sink or installing a new one during a renovation project. These professionals are experienced in handling different countertop materials and sink styles, helping to ensure the installation is performed correctly and efficiently.
Local service providers specializing in undermount sink installation are available to assist with a variety of property types and needs. Whether installing a new sink in a kitchen remodel or replacing an outdated unit, these contractors can manage the entire process from measuring and fitting to sealing and finishing touches. Property owners can expect to work with knowledgeable professionals who understand the nuances of different materials and installation techniques, providing options that suit their specific space and preferences. Connecting with experienced local pros makes it easier to find a solution that aligns with the project’s requirements.
This guide provides helpful information to understand the key aspects of undermount sink installation. It enables visitors to compare local contractors and connect with service providers who can handle the work. The content aims to assist in making informed decisions and preparing for discussions with local pros.